How Are Custom Lighting Drawings Reviewed Before Production?
A custom-lighting drawing is where a visual idea becomes a shared set of instructions. It is also the least expensive place to catch a mistake.
People sometimes open a drawing, see that the chandelier has the expected shape, and approve it in a few seconds. We understand the impulse. Technical drawings are not everyone’s favorite reading. Still, a careful review of the dimensions, drop, canopy, material, and electrical notes can prevent a beautiful fixture from arriving six inches too low or with the wrong finish direction.
A reference image and a production drawing do different jobs
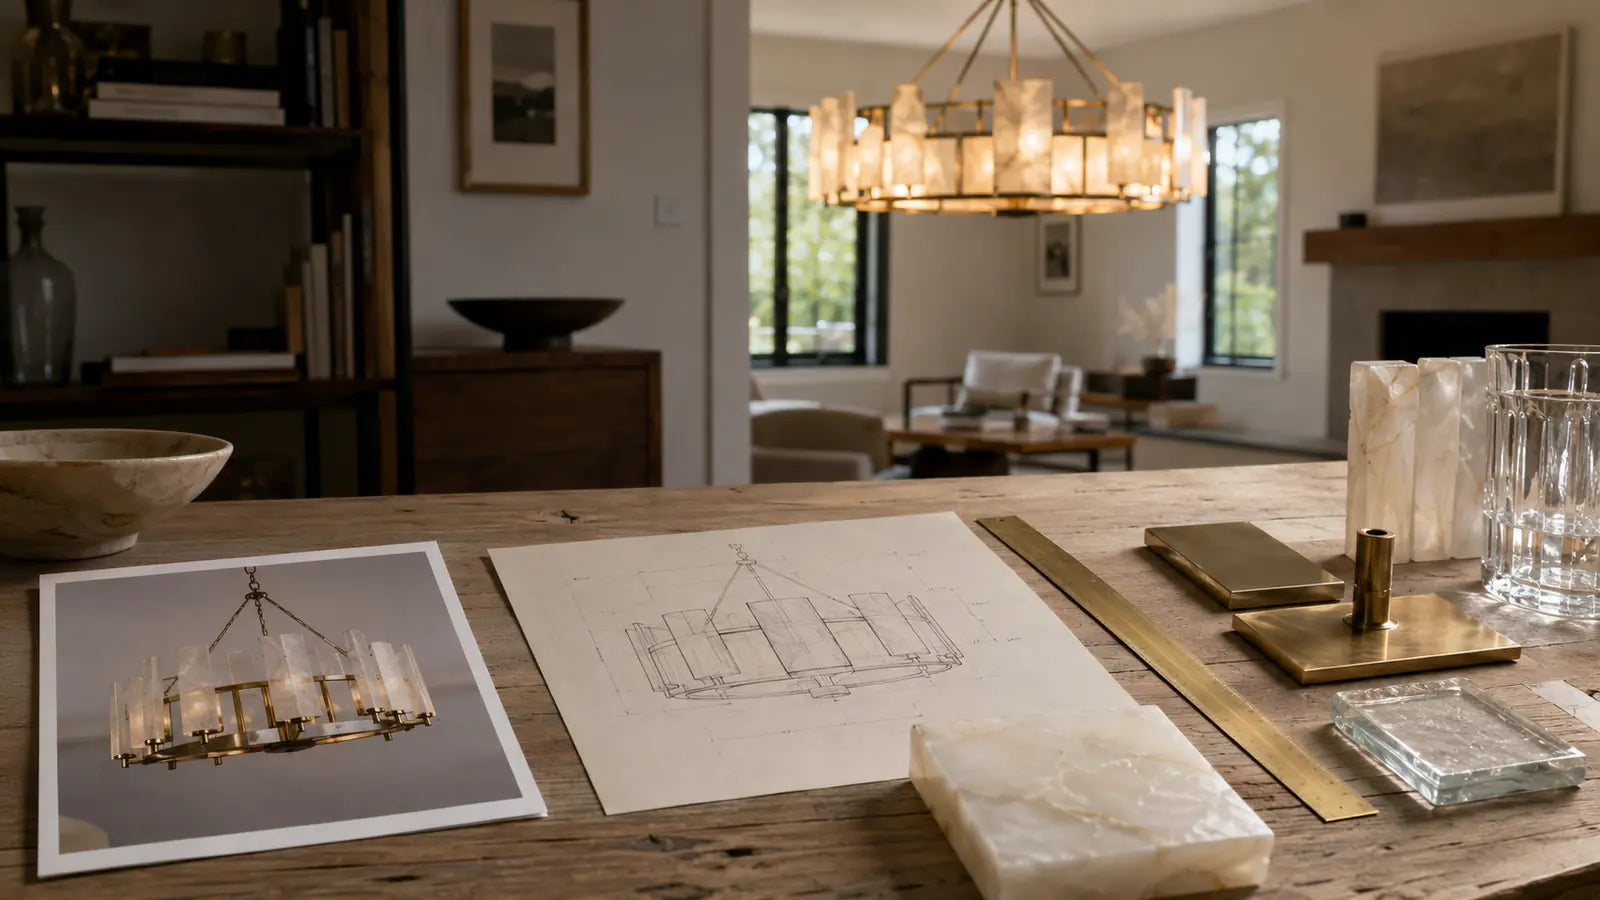
A reference image explains the visual direction: the silhouette, mood, material character, or relationship to a room. It may contain perspective distortion, hidden parts, and proportions that only work from the camera angle.
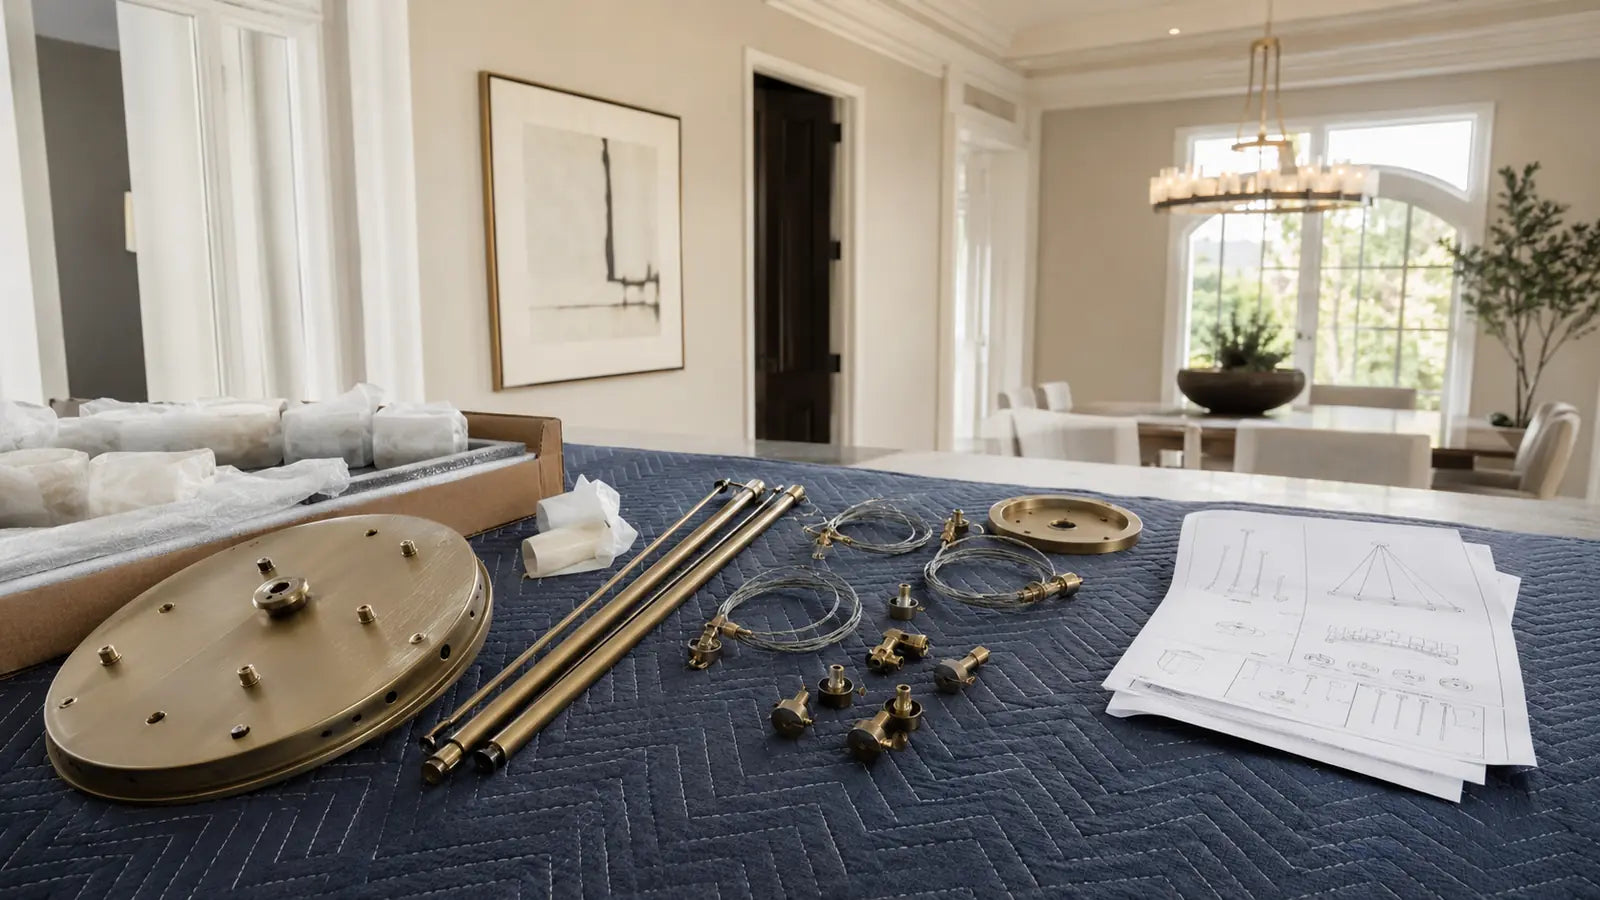
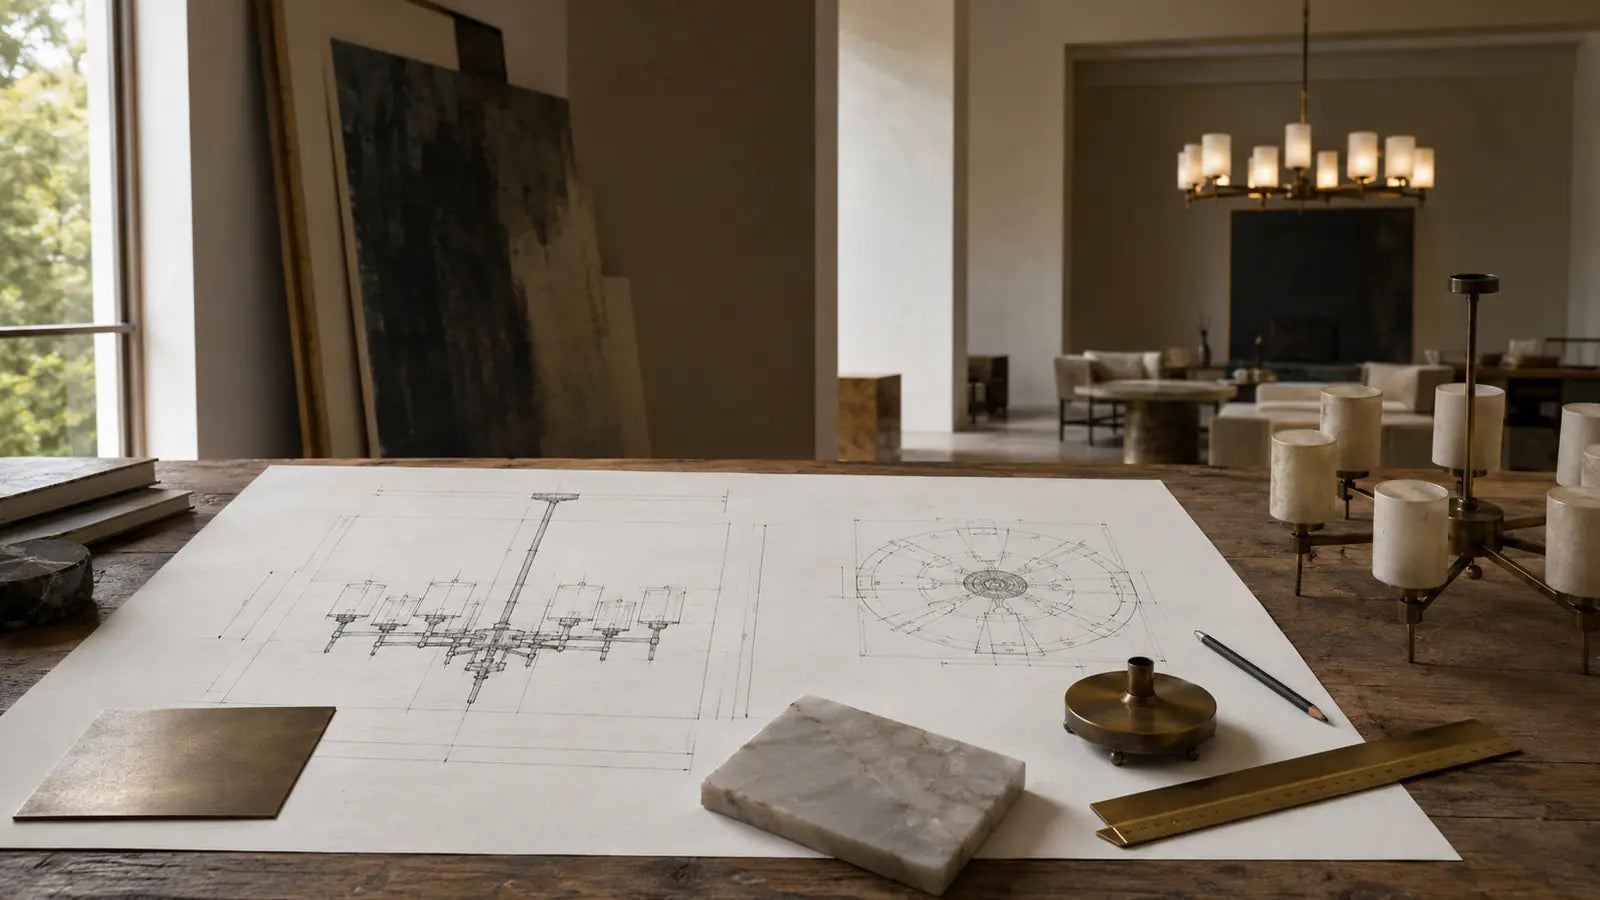
A production drawing records what will actually be made. Depending on the project, it may show an elevation, plan view, overall dimensions, component spacing, canopy, suspension, material notes, light sources, and connection details. A simple size change may use an annotated drawing; a new large-scale fixture may require more detailed CAD review.
First review: does the fixture fit the space?
Begin with the room, not the small parts. Check:
- overall width or length;
- fixture-body height;
- overall hanging height from ceiling to the lowest point;
- canopy location and size;
- clearance above a table, island, floor, stair, or walkway;
- how the fixture aligns with doors, furniture, ceiling features, and sight lines.
This is easiest when the chandelier drawing is compared with a room elevation or reflected ceiling plan. For a stairwell or double-height space, check the view from each level. A fixture can look centered from the ground floor and awkward from the landing.
Second review: is the specification correct?
Once the scale is right, review the details that determine what gets built:
Dimensions and quantity
Do not rely on the picture alone. Read the dimension labels and confirm the units. If several fixtures share a design but have different sizes, make sure each type and quantity is clearly identified.
Canopy and suspension
Check whether the fixture uses rods, chains, or cables, how many suspension points are shown, and whether the canopy works with the ceiling. For a sloped ceiling, verify the angle and the intended orientation. For an adjustable system, confirm the permitted range and the target installed drop.
Materials and finish
“Metal and stone” is not a complete finish note. The approved information should identify the material direction and finish clearly enough that the project team and maker are discussing the same appearance. When natural stone or handmade glass is used, allow for the agreed level of variation.
Light source and electrical details
Confirm the voltage, lamp or LED configuration, color temperature, dimming requirement, driver location, and any other project-specific electrical note. If the project has a control system or compliance requirement, it should appear in the written specification rather than remain in a separate conversation.
Assembly and access
For a large fixture, ask where it separates for shipping and how the sections reconnect. Compare the largest part with doors, elevators, stairs, and the available installation equipment. Drawing review is a good time to change the assembly strategy; the day of installation is not.
Use one source of truth
Custom projects often generate a trail of emails, marked-up screenshots, finish photographs, and revised drawings. Before approval, bring the final decisions together. The latest approved drawing and written specification should agree.
If an email says “make the brass darker” but the drawing still carries the previous finish note, ask for the documents to be aligned. Do not assume that a comment buried in an old message will automatically override a later approved sheet.
A simple two-pass review method
- Pass one: space and proportion. Review the fixture against the room. Check the overall envelope, center point, lowest point, and visual relationship to the architecture.
- Pass two: build details. Ignore the room for a moment and read every note: quantity, dimensions, canopy, suspension, material, finish, light source, voltage, color temperature, dimming, and assembly.
Then have a second person—often the designer, contractor, or installer—review the points related to their work. A homeowner may know the intended appearance; the installer may spot that the ceiling support or driver location has not been resolved.
How to mark comments clearly
Use numbered comments or direct annotations on the latest drawing. “Looks good except the height” is harder to act on than “Please change the fixture-body height from 30 inches to 26 inches; keep the overall hanging height at 58 inches.”
If you are asking a question rather than requesting a change, label it as a question. If a note is mandatory, say so. This avoids turning a discussion point into an unintended production revision.
What approval means
Approval means that the dimensions, appearance direction, materials, and technical information shown are accepted for production, subject to the written terms of the project. It is not only approval of the general look.
Changes after approval may be possible, but they can affect cost, completed work, material orders, and timing. If site conditions change, tell us as soon as possible. A revised ceiling height or mounting point is important even if production has already started.
Questions are part of a good review
You do not need to pretend that every line on a drawing is obvious. Ask which dimension includes the suspension. Ask where the driver sits. Ask whether the stone pattern will vary. Ask how the largest section reaches the room.
The purpose of the drawing is not to test the client’s technical vocabulary. It is to remove uncertainty before materials are cut and components are finished.
Before approving, say the specification back in plain language: “One 48-inch-wide chandelier, 60 inches overall from ceiling to lowest point, warm aged-brass direction, alabaster shades, 110–120V, warm white, dimmable.” If that sentence and the drawing disagree, keep reviewing.
If you have a sketch, CAD view, or reference image for a project, send it with your inquiry. We will let you know what level of drawing review makes sense for the fixture.